A step-by-step guide
Step 1
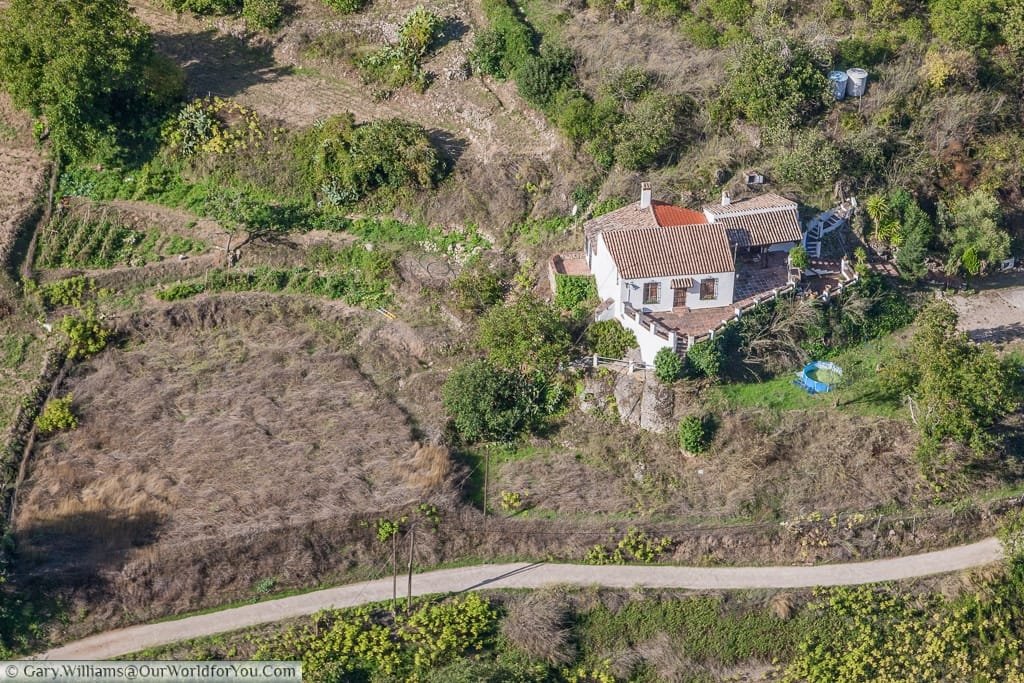
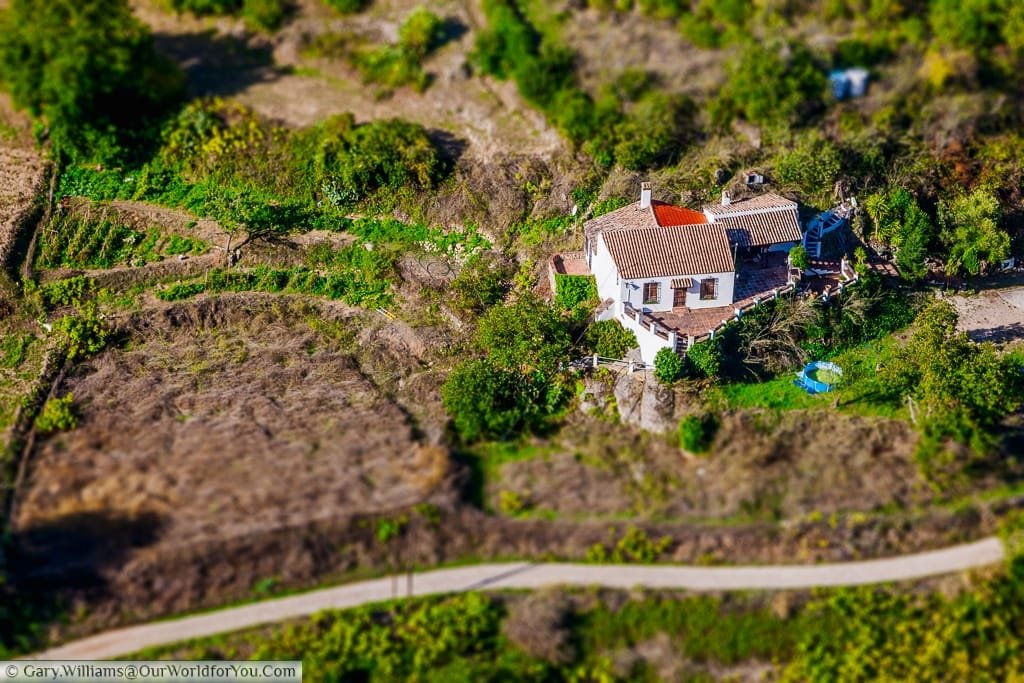
The tricky piece is selecting the right image to start with. Ideally, you need an elevated viewpoint, as if looking down on a model village or diorama. So a shot from a Ferris wheel, or a hike up a tower, anywhere you look down upon a subject. Aerial photography will allow you to capture images that suit this effect. The one thing to be aware of is the sky and clouds. An image with clouds doesn’t work, really.
In my example, I have picked a shot taken with a DSLR; however, it will work perfectly well with an image captured on a smartphone or compact camera.
So once you select your image, and here’s mine, we are good to go.
Step 2
Step 2.1
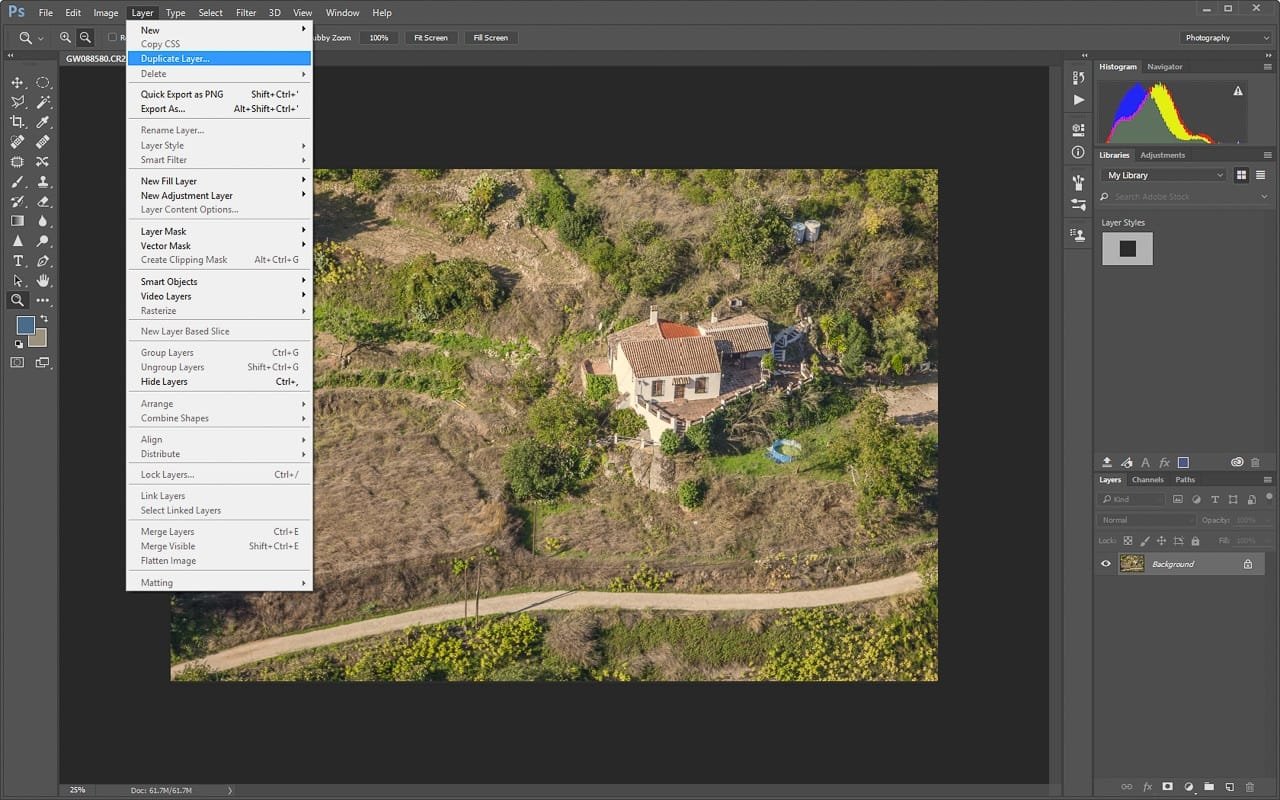
I always work with layers, so I start by duplicating the background layer with a CTRL-J on my PC.
This will create Layer 1.
Step 2.2
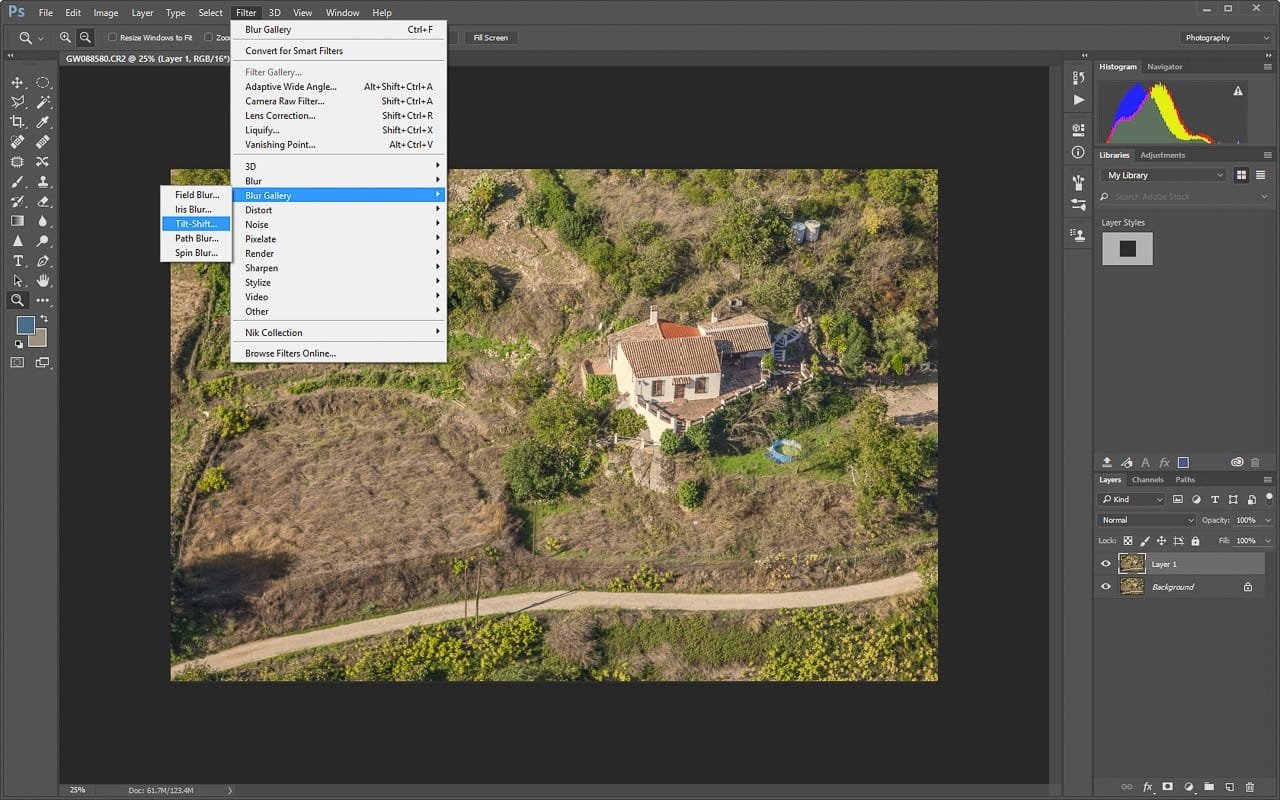
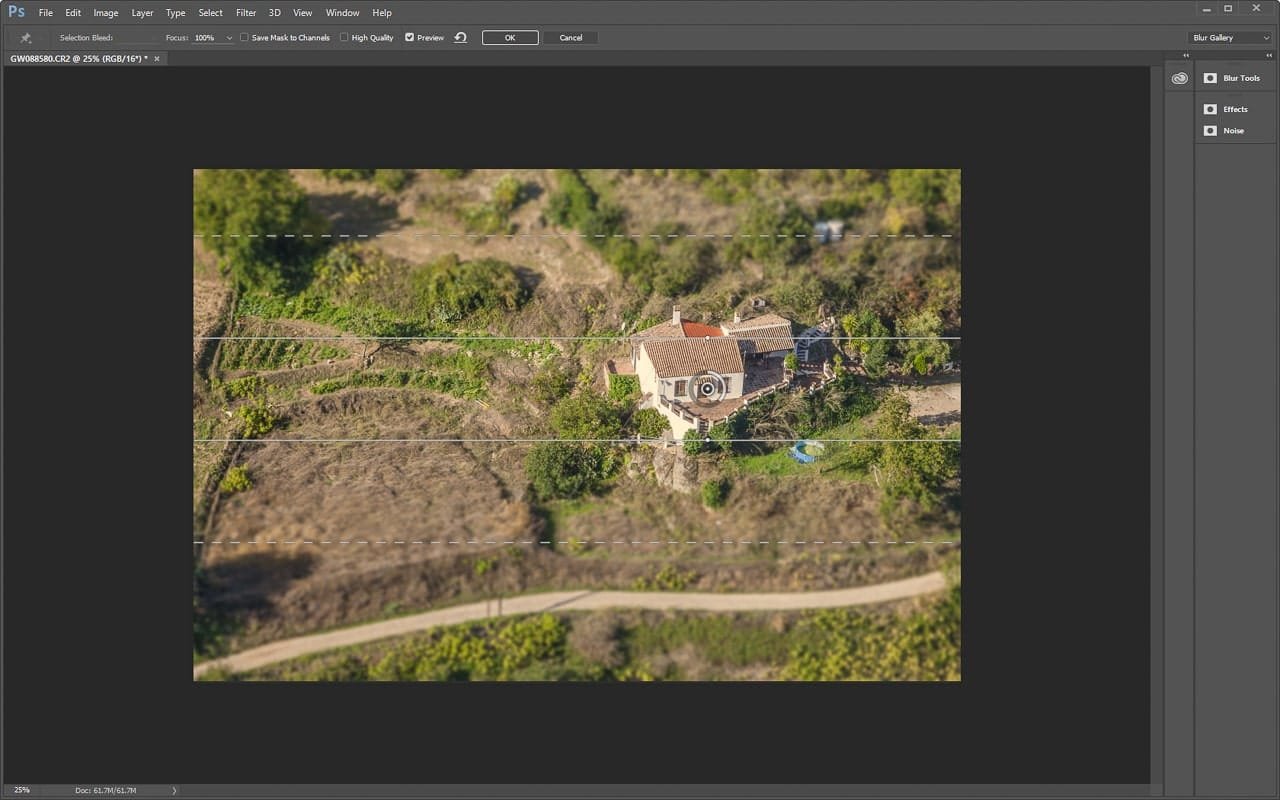
Step 2.3
Duplicate your Layer 1, and you will end up with Layer 1 copy. With our filtered image, we are going to apply two adjustment layers.
Firstly, one to adjust the contrast, I prefer the curves tool to perform this.
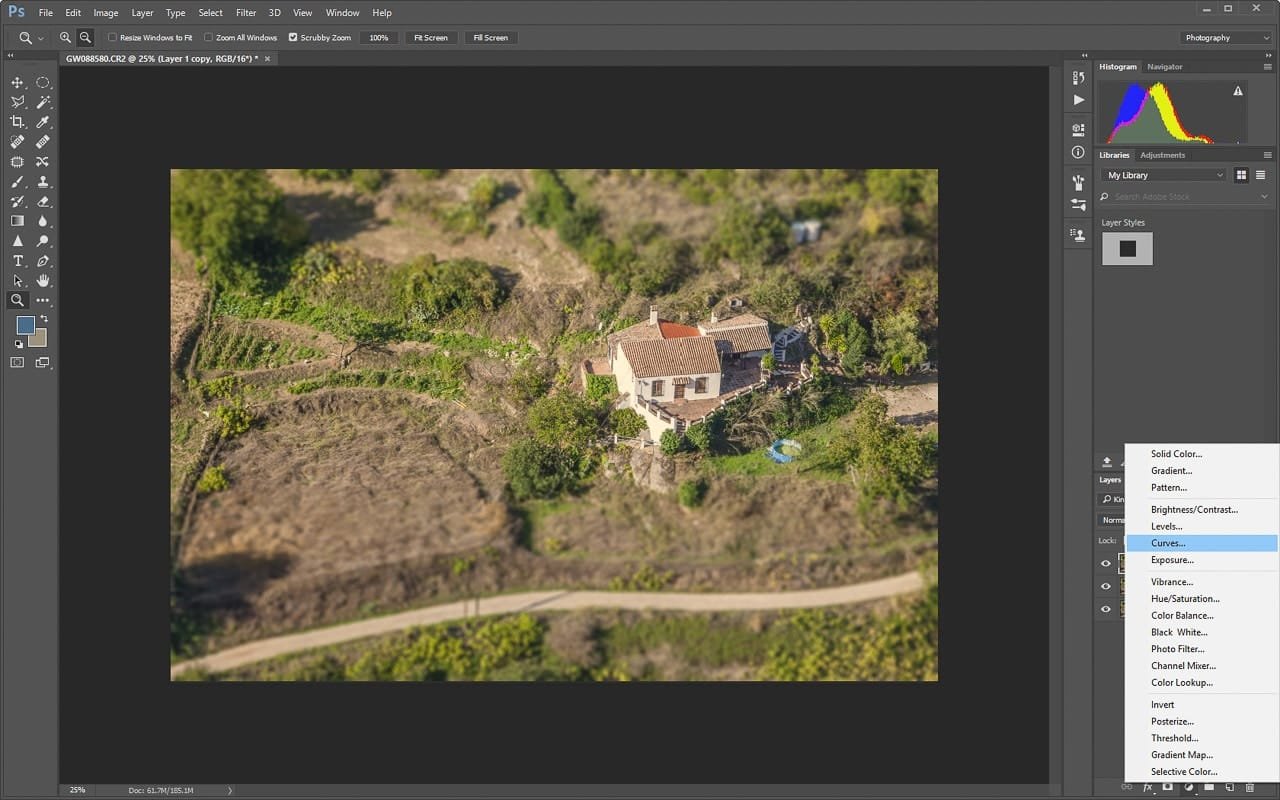
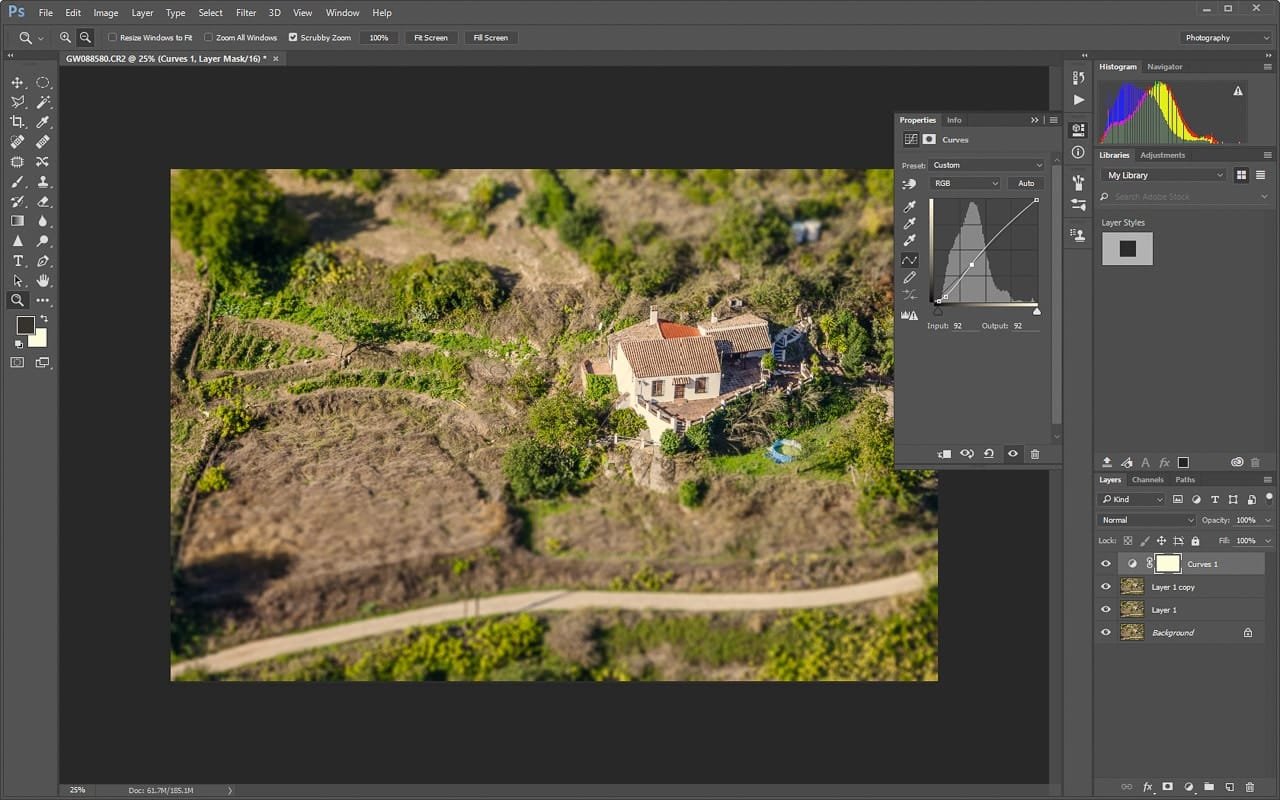
In my example, we have dragged the bottom left point to meet the histogram and then just selected a point on the left of the line and pulled that down. A further point near the centre of the histogram is also selected and returned to the line.
We have created a very shallow ‘S’ curve in this example.
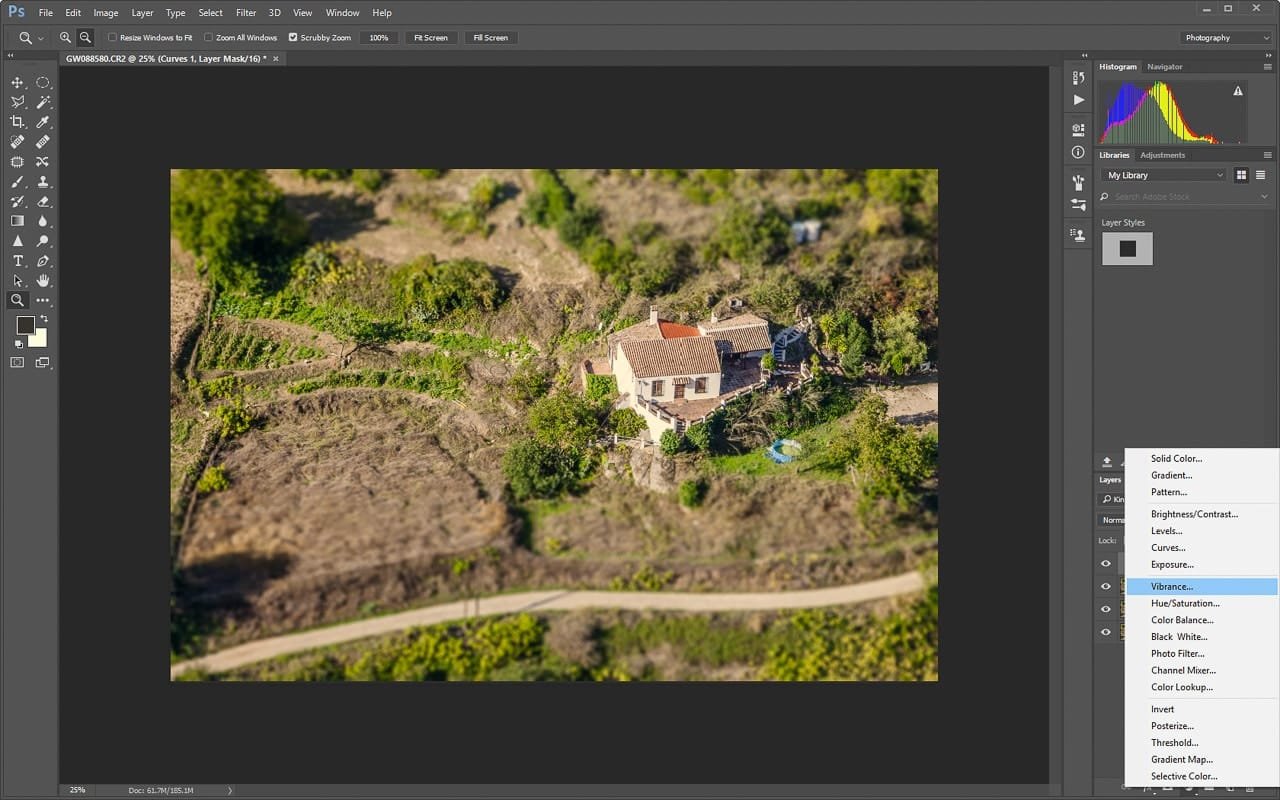
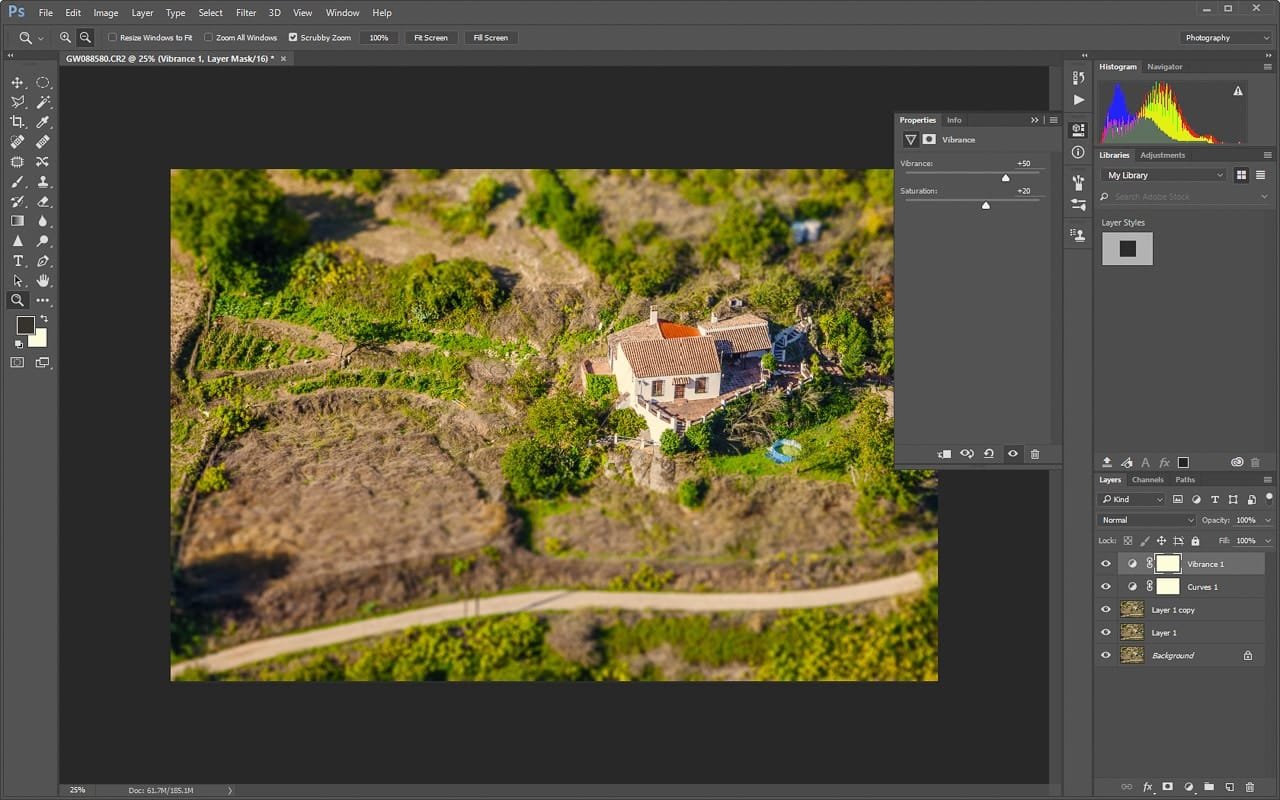
Now you can stop here.
Step 2.4
There are many ways to sharpen your image, Smart Sharpen, Unsharp Mask etc. Just check out the options under Filter -> Sharpen. However, my choice is to use the High Pass filter.
So I start with creating another layer. Either Layer 1 or it’s copy will be fine. Take this duplicated layer and drag it to the top of the stack (it will appear to have undone the adjustments – don’t worry about that just yet.)
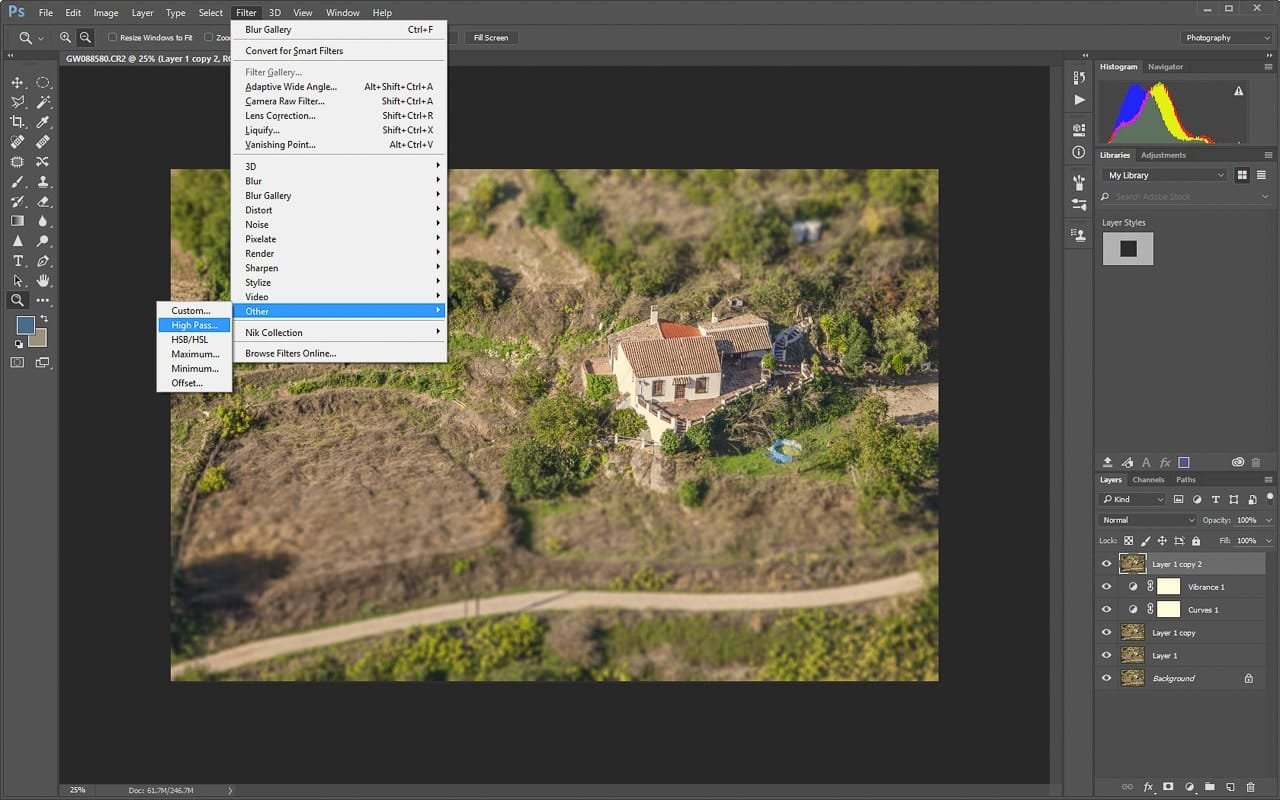
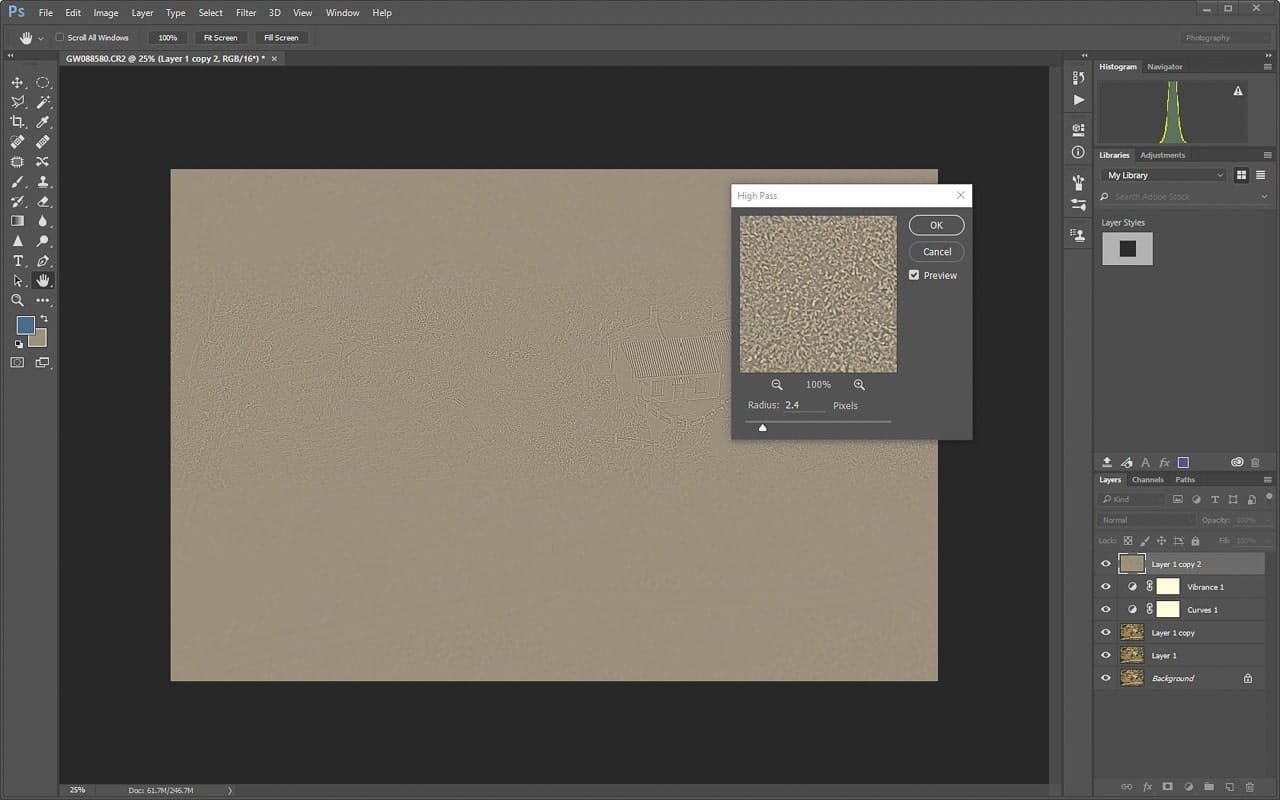
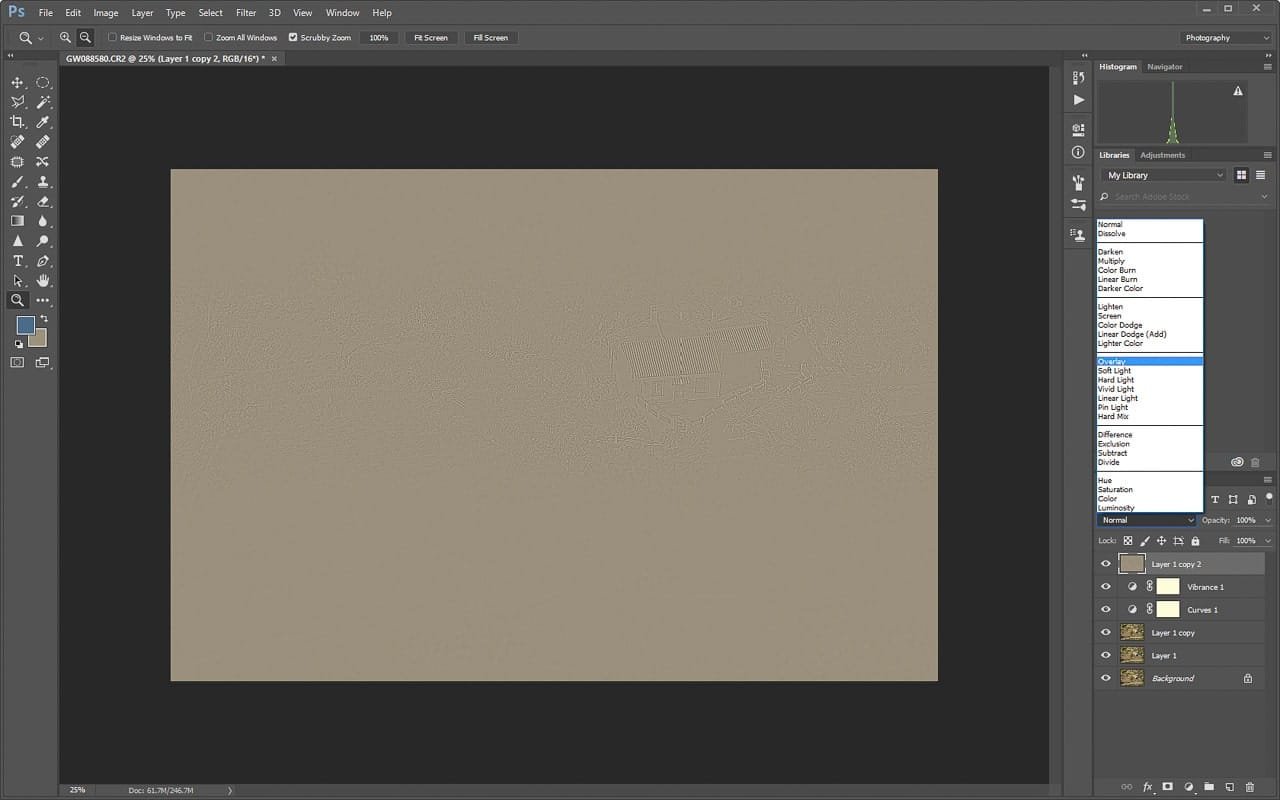
Then select the High Pass Filter from under the Filters-> Other -> High Pass.
* This post may contain links to affiliated sites where we earn a small commission at no additional charge to you.
