It's a story of layers
I thought I would write this tutorial after I received an e-mail from a visitor to our site. Max asked how I controlled the noise in the skies of my HDR & tone-mapped images.
So I thought I would start with one of the images that Max referred to from the Ronda Gallery
The software used in this tutorial
The steps
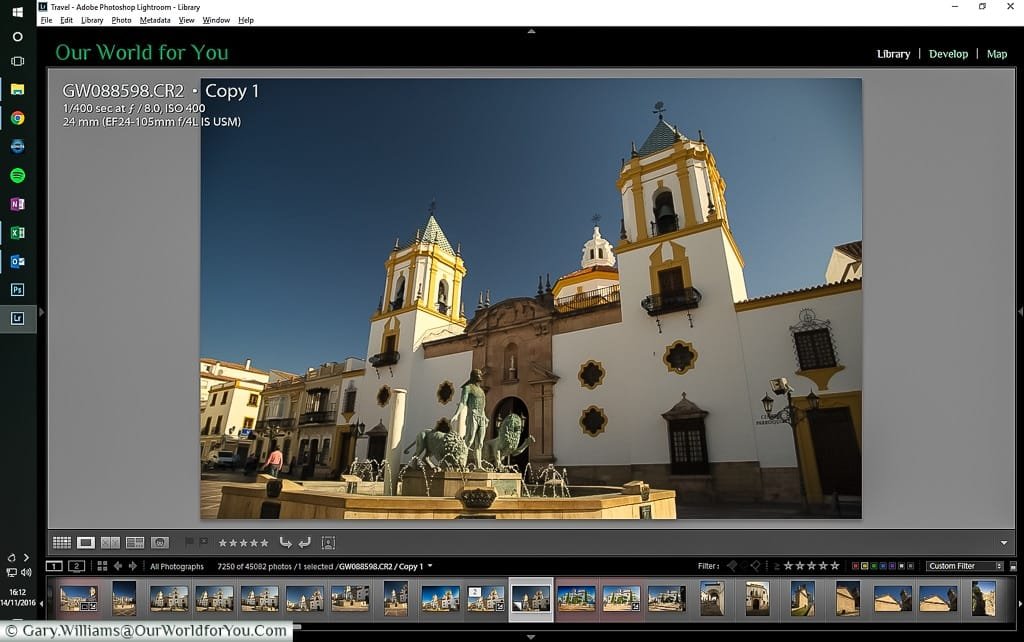
So my first step, when I have shortlisted the image, is to crop the shot. If necessary, remove any dust spots and make some basic adjustments in Lightroom.
This is what I have to start working with.
I now export this image to Adobe Photoshop; the reason behind this is that I can work with multiple layers.
So the first step is to create a duplicate of the background.
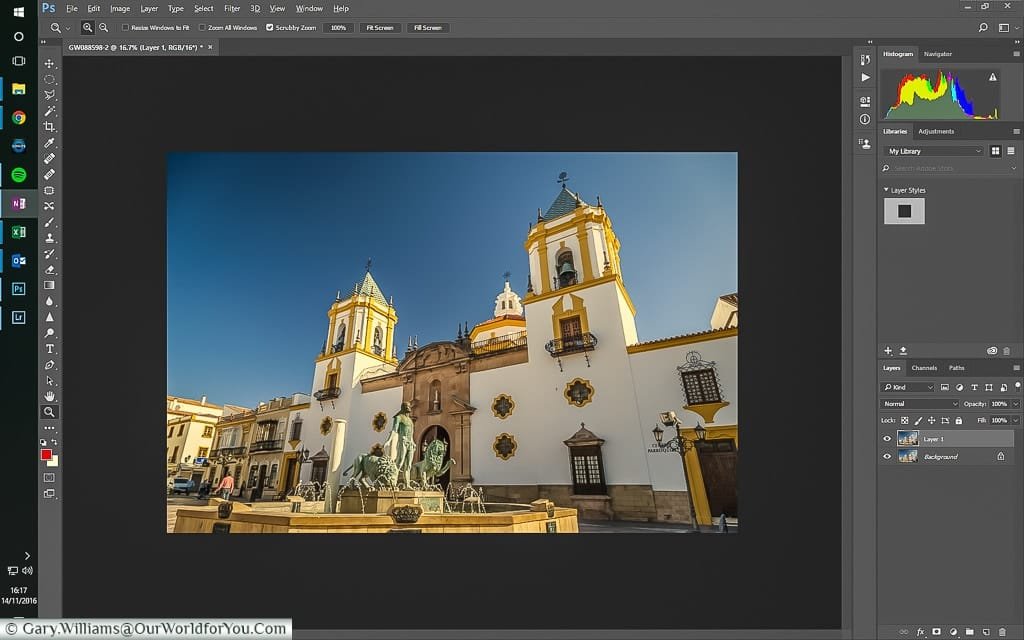
With this layer, I plan to apply one of the Nik collection of filters to give the image more punch, to provide the shot with a touch of the feeling I had with the beautiful Spanish sun beaming down on this wonderfully warm October day.
So I pull up a preview of the various options and select a look I like. In this case, it's 'Deep 2'
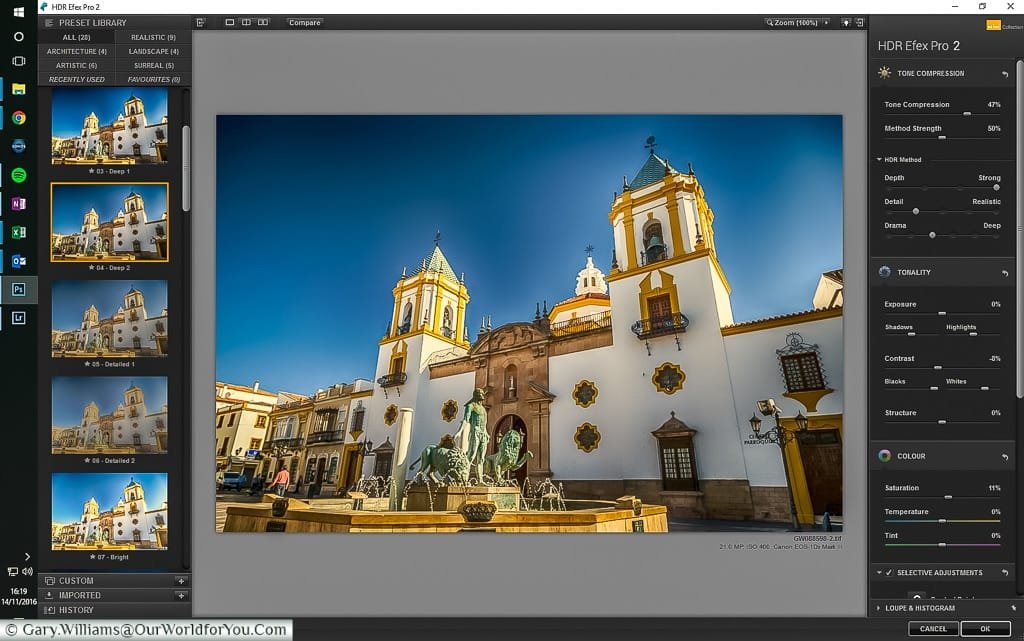
The only issue I have is that the sky is too bright. I prefer the one created with 'Deep 1'
No problem, duplicate the original background again, move it to the top of the layers stack and run the Deep 1 filter against that.
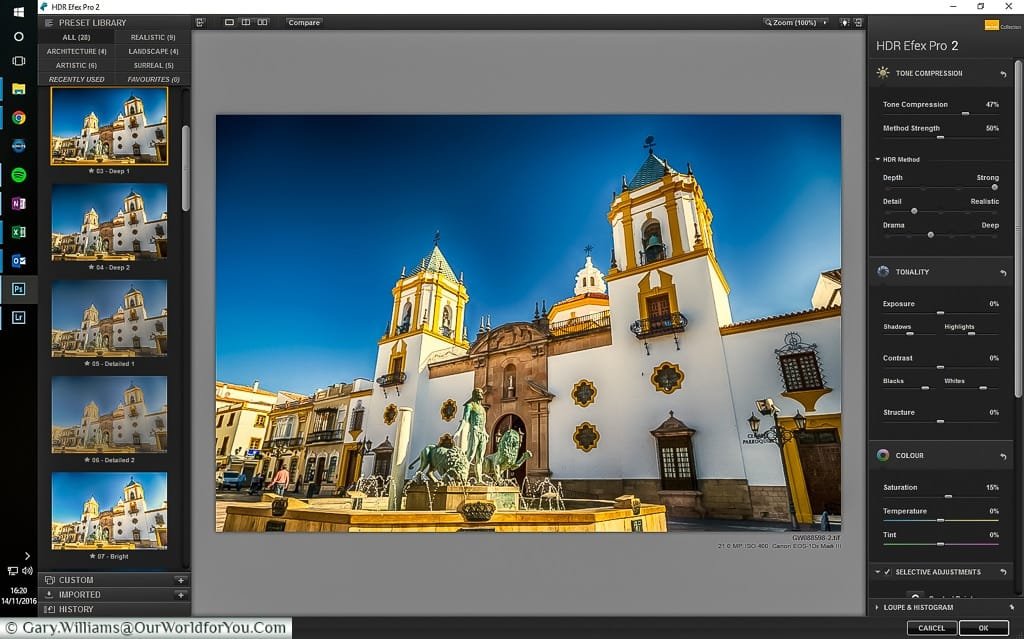
As you can see, that has masked the more balanced 'Deep 2' image.
Again, no problem, but we have a couple of options, but both involve 'selecting' the sky.
I have two solutions I generally prefer, and it depends on the image.
This one has a simple sky, so I select the 'Magic Wand Tool'
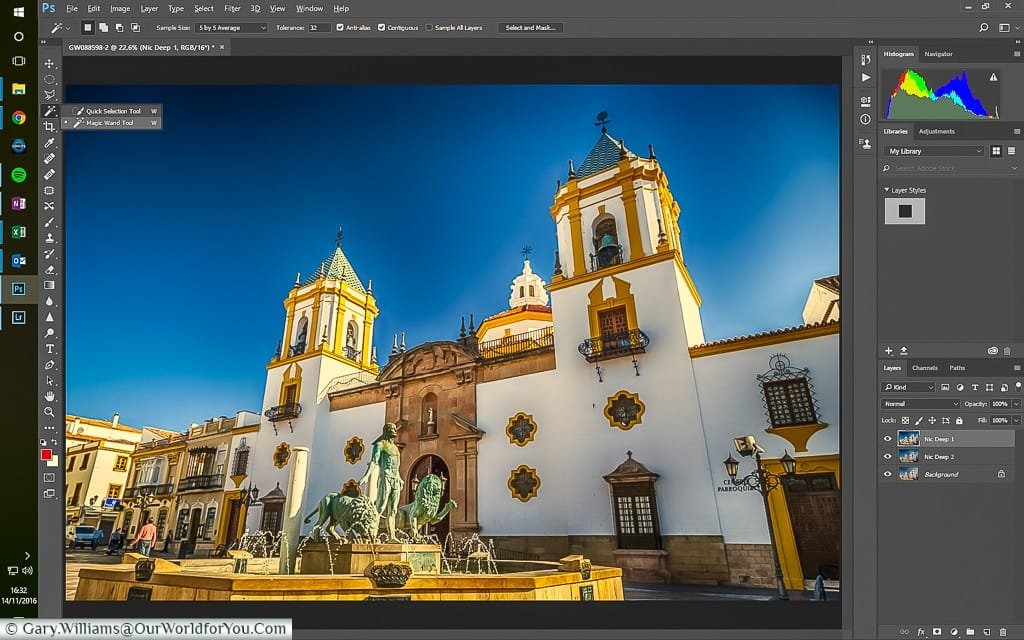
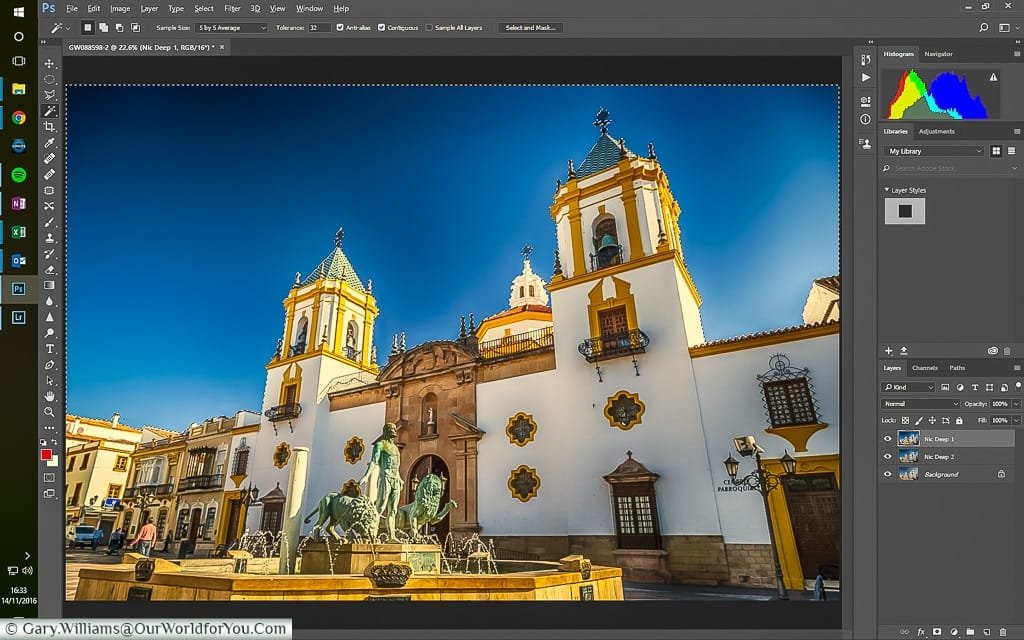
When you have selected everything you want, save the selection. This is because it gives you options on how to proceed next.
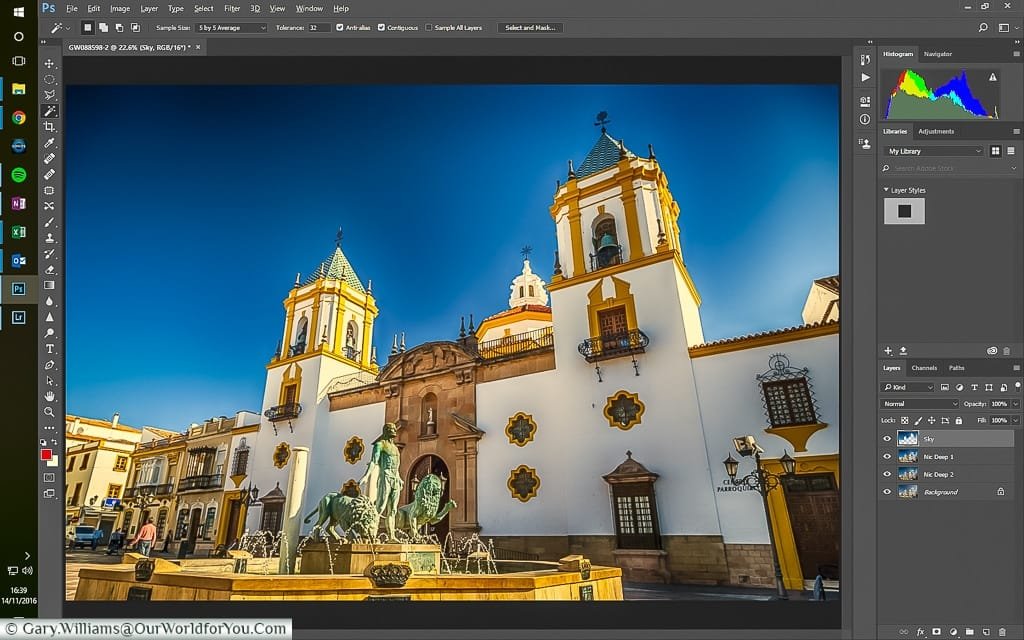
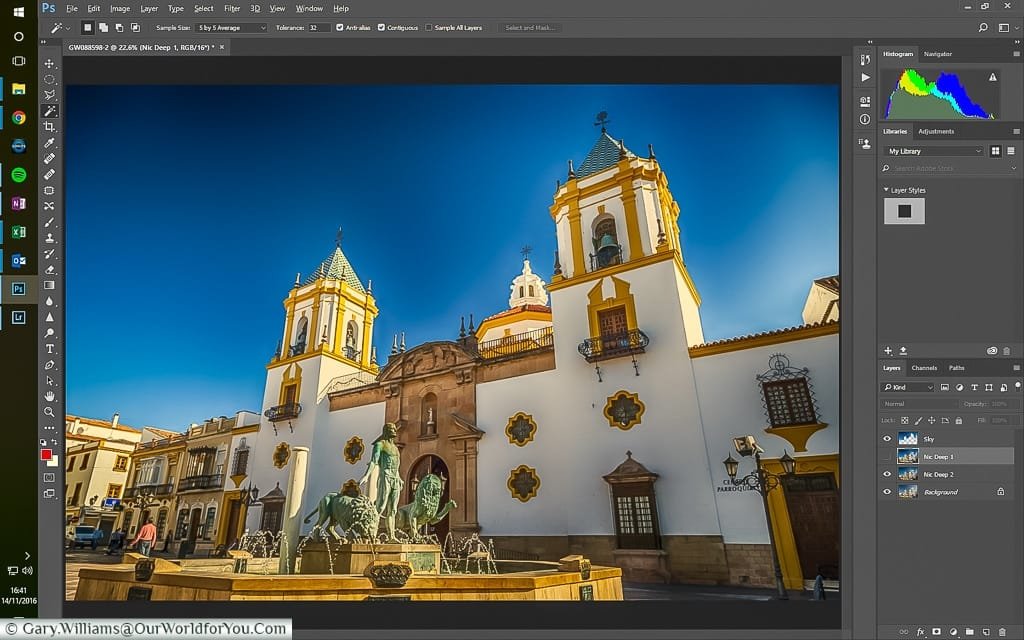
In this example, it's simple, duplicate the layer again, and you will end up with a layer with just the sky.
* This post may contain links to affiliated sites where we earn a small commission at no additional charge to you.
