So how do I manage my 99k images (& counting!)
And still find what I'm looking for?
Well the first confession, and there may be a few, if I truly managed my images then there wouldn't be over 99,000+ photos cluttering my storage. However, what I mean is how I can find an image from the depths of 1999 when I went digital?
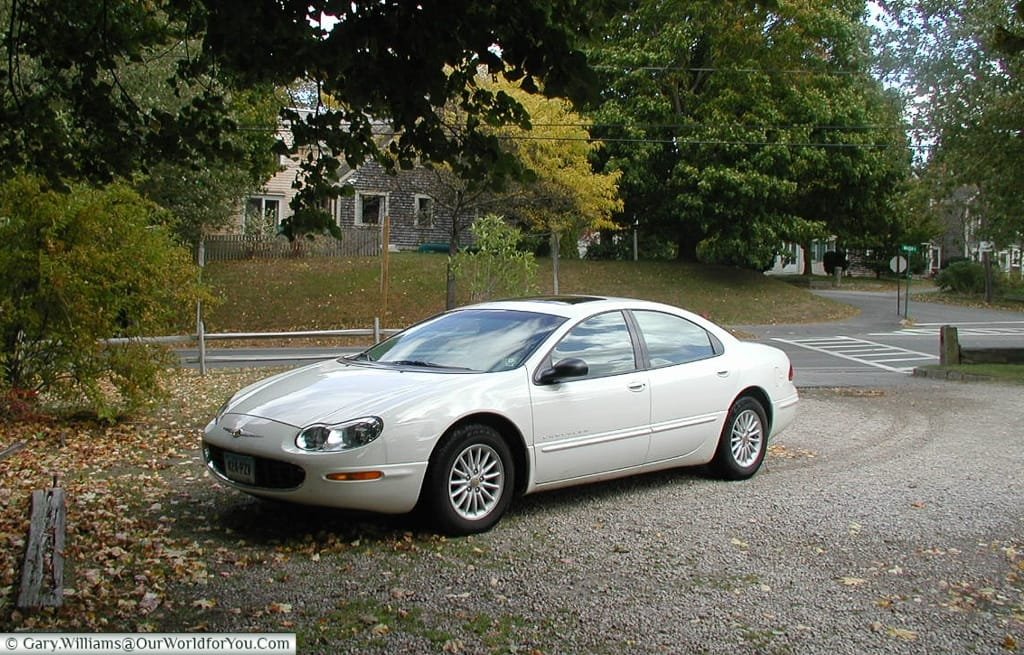
So when I wrote my Epic Road Trip Failures post, it's how I found the shot I wanted of the Chrysler Concorde that nearly killed me in New England in the fall of 2001.
Well, the answer is Adobe Lightroom.
What is Adobe Lightroom?

It's part of Adobe Creative Cloud, available on PC & Mac, either as standalone or as part of a packaged solution that bundles it with other apps in the suite. I have opted for the Photographers package as it also gives me Photoshop. Also, there's some mobile apps & services included in the bundle.
So Lightroom is potentially all you'll need in photography management, from the moment you store it to the moment you share it.
It comes with individual modules to tackle your needs, but in this post, I am only going to touch on the Library, and possibly Map module too.
It's an incredibly powerful tool, but I want to focus on its simplicity, and how it can help you. How much you roll your sleeves up and get dirty with it is up to you later - here we're just dealing with the basics.
What I'm not going to tell you (Yet)
This is not going to be step-by-step this is how you do XYZ. This post is more about what you can do regarding storing your images, so you can find them again.
The 'Yet' bit of this heading is because I will write a later post, if that's what people want, with some more detailed instructions on how to perform some of the good stuff I mention here.
What I am going to tell you
How you can start using Lightroom right now to improve your workflow and to help you find that picture of Aunty Mabel, at your cousin's wedding, stealing the dancefloor. I'll give you an overview of catalogues, file management, collections and the publish services functions.
I'll also cover geotagging, or to put into simple language - where your photos were taken if your camera doesn't already capture that. It's really helpful if you dive off on a city break and you want to know where that shot was taken. It would have been really handy when I visited Amsterdam in 2011 - creating the gallery would have been so much easier if I'd know where I was. I had to do with adding the information from Google maps - and that took ages.
The many faces of Adobe Lightroom
As I mentioned Lightroom has many modules - well seven to be specific
The modules are
It's fair to say I only really use the first three modules, but I do understand the other four elements.
The reason I mention the other modules is I want to show you what else it has to offer.
The Library Module
So the Library is where the imported images can be seen, tagged and organised. You can also perform some basic tone adjustment here, but why would you when you have the Development module to play with? And it's just a hop, skip and jump to get there.
Anyway, I guess if you're reading this you fall into one of two camps.
- Just starting out, nice & organised and what to do it right from the offset.
- Have a collection of shots stored on somewhere, and you have trouble locating images. If you're of a certain vintage, you can play the same game as me - it's how long since I last visited 'insert as applicable'? Ahhh I miss it, I must head back - I guess in this aspect Lightroom should come with a health warning.
It's all about Catalogs
The first thing that happens when you open Lightroom is that it will ask you to create a 'Catalog'.
Within a Catalog you can add folders of images you want to be included, create collections of a subset of shots that meet certain conditions, and you can use Publish Services to export your work quickly to various platforms.
So when I first set-up my Lightroom I created the following catalogues
To be honest this mirrored the file structure on the hard drive too.
However, once we started our site having Travel & the UK in two catalogues was bit of a pain. No problem though, just add the UK folder into the catalogue, resync, and there you go - all travel in one catalogue.
Once you have your first Catalog - you're good to go
So you start with you first catalogue - and I am going to start with a biggy - Travel. How do you find what you want in there?
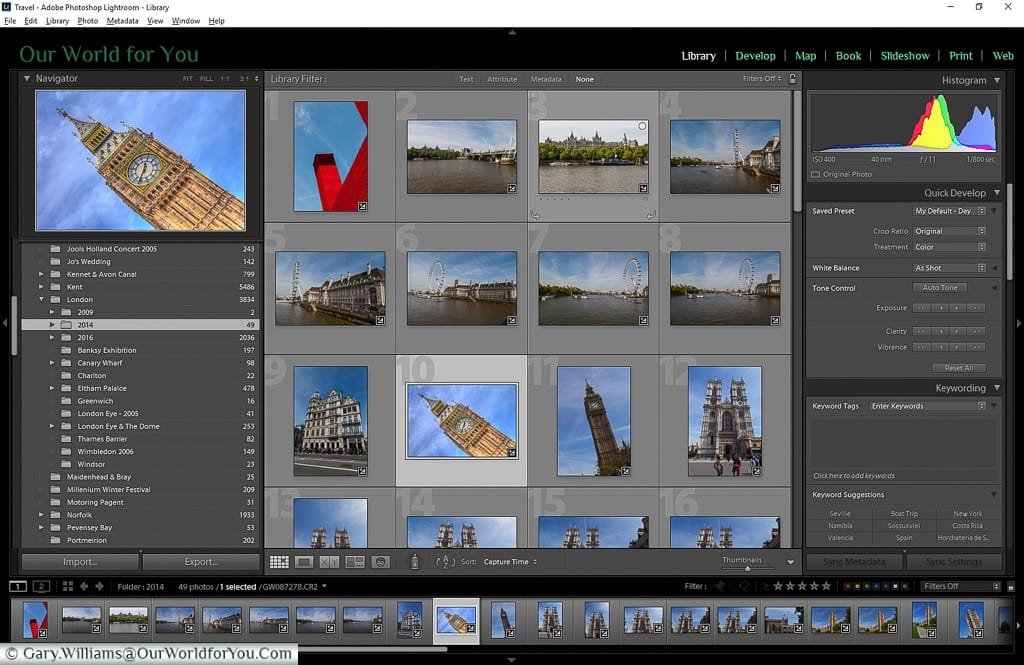
Well, first it starts with my file structure. I always import my picture into region/country/trip or location. So my last batch from our Croatian Road Trip got split, because we started in France, before heading to Austria, onto Croatia, back to Austria and finally in Germany. So when I loaded them in, they went into four folders.
However, If I want to group all the images, all I have to do is create a collection for the date range, and there I have them all in one place - but hold on I'm jumping the gun by heading to 'Collections.'
So it starts at the beginning?
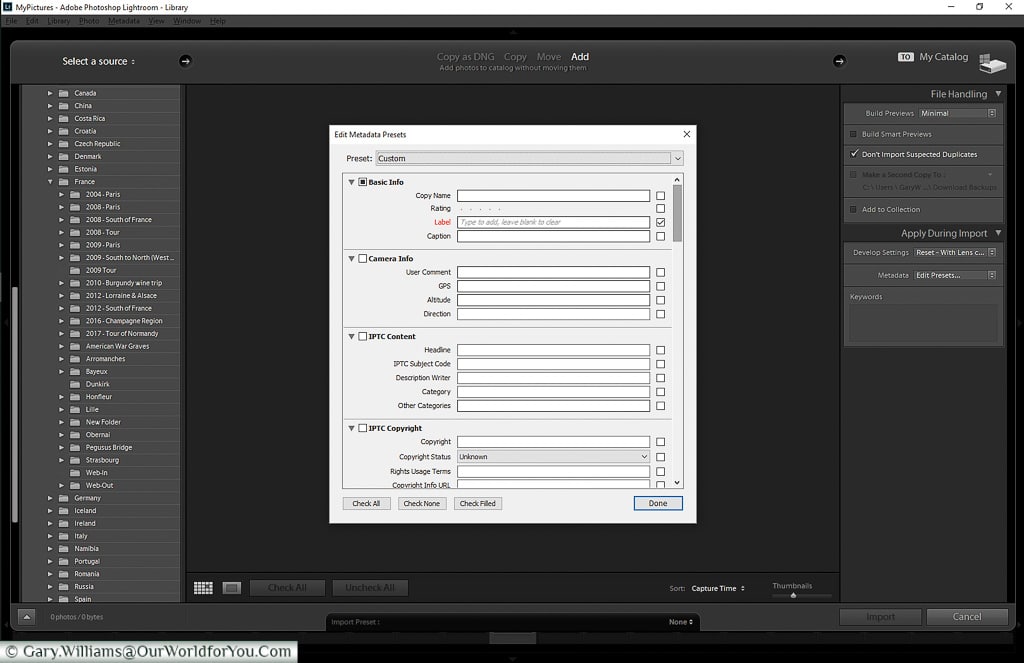
The easiest way to organise your work is when you import it. Here you can add or alter metadata - you know the bits of information tagged onto a photo - you can add a location, comments, categories etc. You can also tag the image with keywords, so stuff life waterfalls, beach, sunset, etc. The aim is to allow you to find what you're looking for days, months, years, later.
You can always add the detail retrospectively, but if you're as bad as me, you generally won't.
Inspecting the Library
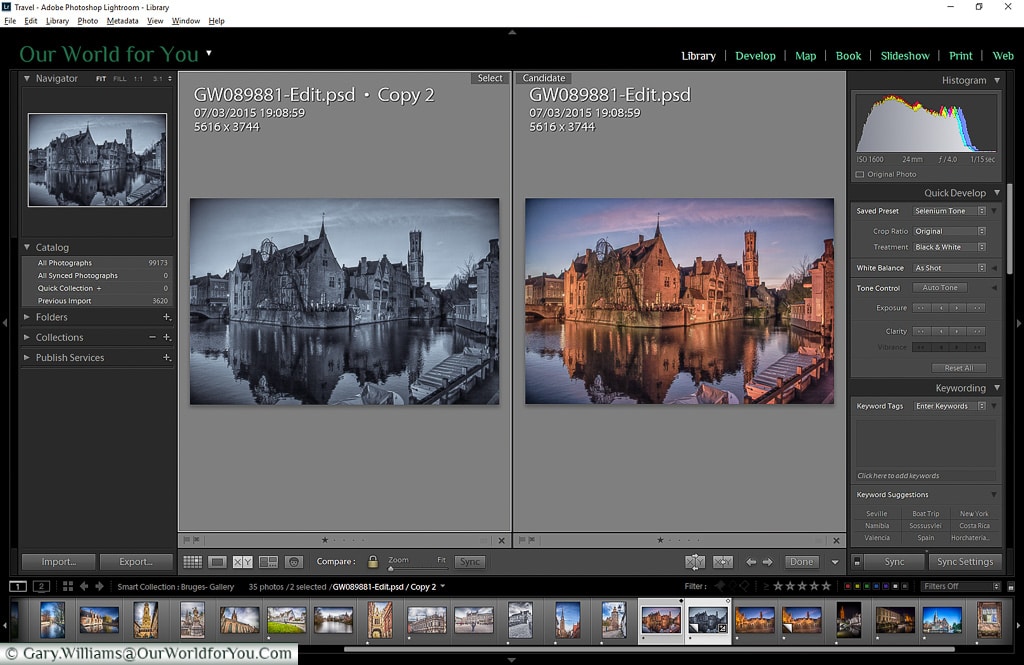
Once you've imported, you can review your images - either on a contact sheet, with thumbnails of images of a size you select, to single shot you can zoom in to. The interface is pretty flexible. It also supports dual monitors, or secondary screens so you can have the contact sheet open on one, and the selected image on another. You can compare side by side.
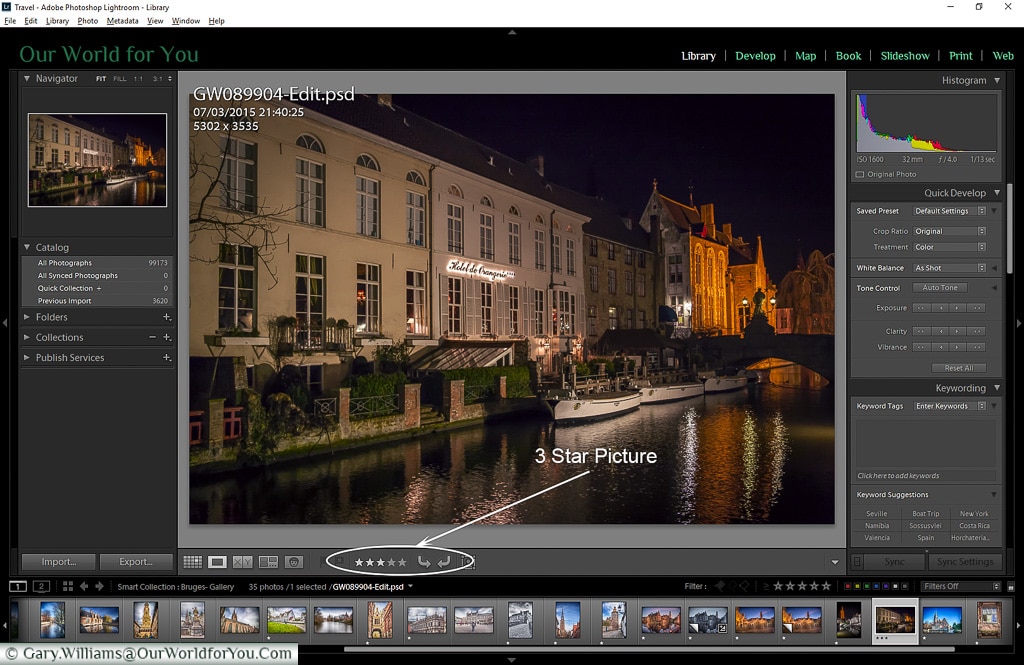
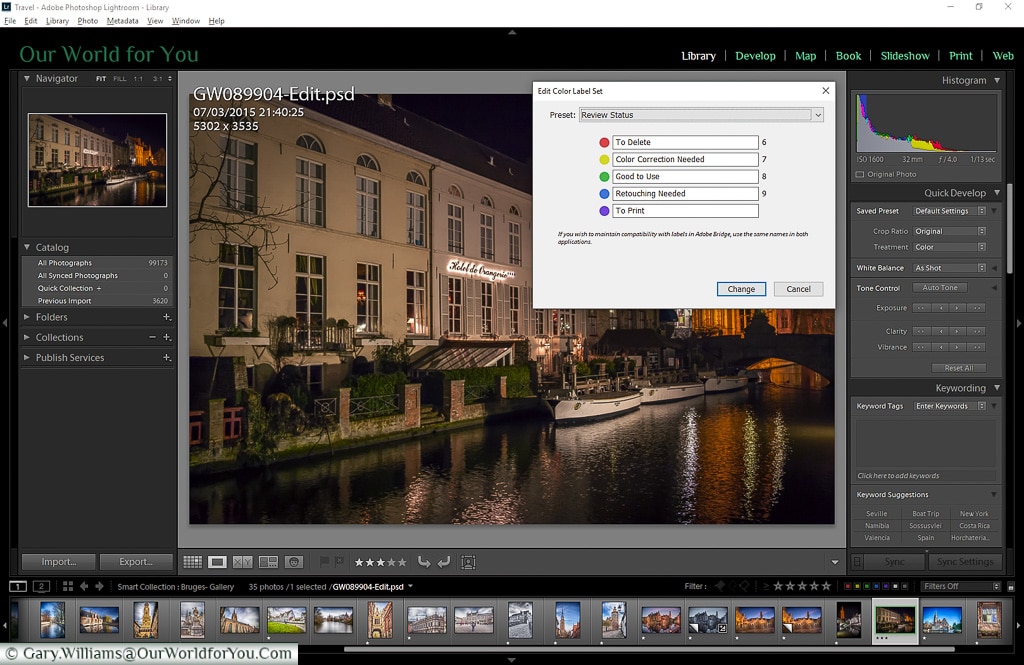
You can easily reject photo's - you know the one of your feet when you were trying to multitask and hit the shutter button. Just hit 'x', and the photo is flagged for rejection. You can easily delete you rejected photo's later. You can also grade you photos from 0-5 stars just by hitting 1-5, yep doing nothing leaves it at 0. You can also grade them with a colour tag using keys 6-9 (plus there's an additional one) You can rename these tags to mean something to your workflow.
There's also another cool feature - facial recognition. Now the majority of my shots are travel, so landscape, architecture, scenes; that sort of thing. But if you capture groups of people it can be really cool and helps you collate all your shots with a certain person.
Organising your shots
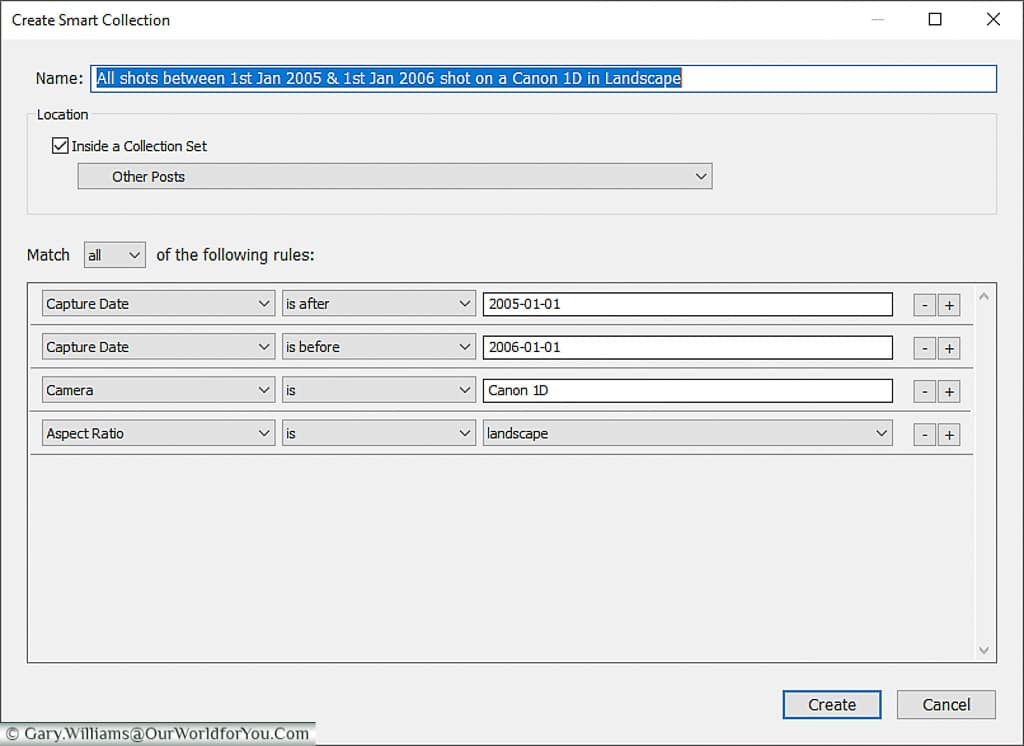
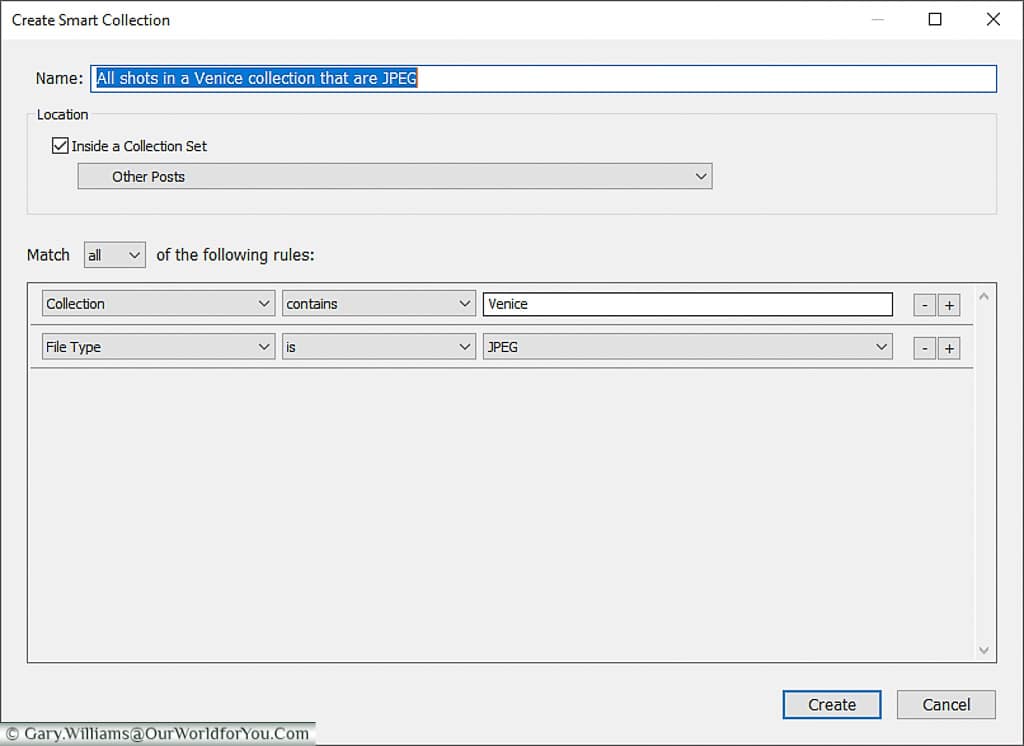
This is where collections come in handy. Collections allow you to select a subset of shots based on a comprehensive set of conditions.
As I mentioned earlier, our Croatian Road trip, which includes France, Germany & Austria, can all be held together despite being in different parts of the file structure. The list of options for collating you collections is vast, and you can mix and match, so a few examples are;
All shots between 1st Jan 2005 & 1st Jan 2006 shot on a Canon 1D in Landscape
All shots from Croatia flagged red
All shots in a Venice collection that are JPEG
The possibilities are endless
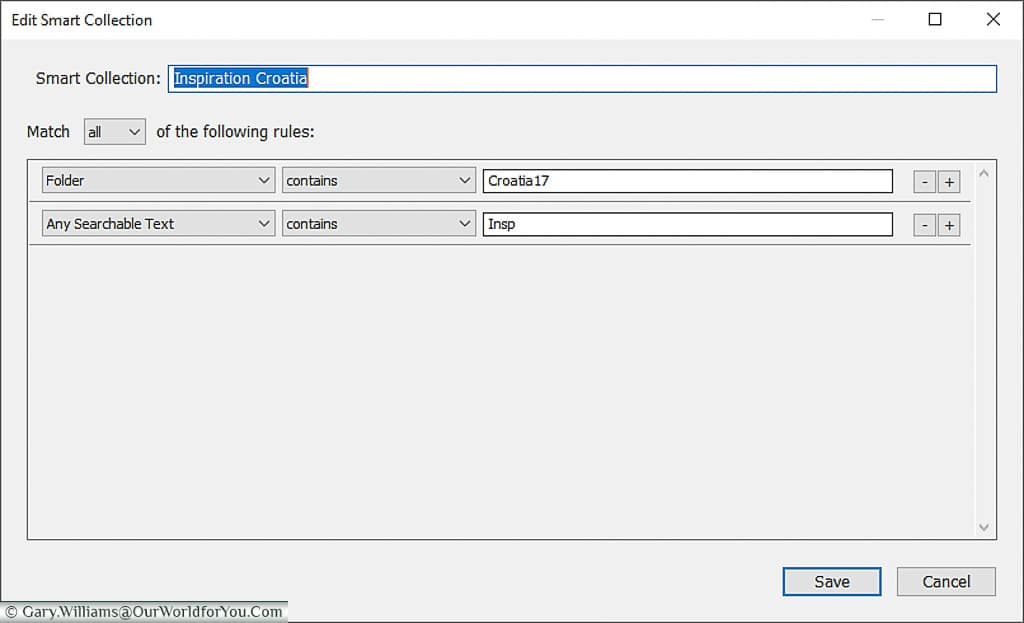
Once I have a collection I can then perform actions on them. Usually, I have selected a series of shots for a post, say 'Inspiration Croatia', and I tag them with a unique identifier under the Workflow. Typically the trip has a unique tag, Croatia17, and I use the instruction field to designate the post; Insp = Inspiration, Mem = Memories, Gal = Gallery, Plv = Plitvice - you get the idea.
I can then export all of the collection with a pre-created preset. I have one for importing into Wordpress which adds the watermark in the bottom left of the image and resizes to specified dimensions, and another for Instagram that doesn't add the watermark, another as output for a video, another as a YouTube Thumbnail and another as a Pinterest image. Each of these is output to their own folder which helps my workflow.
Sharing those shots
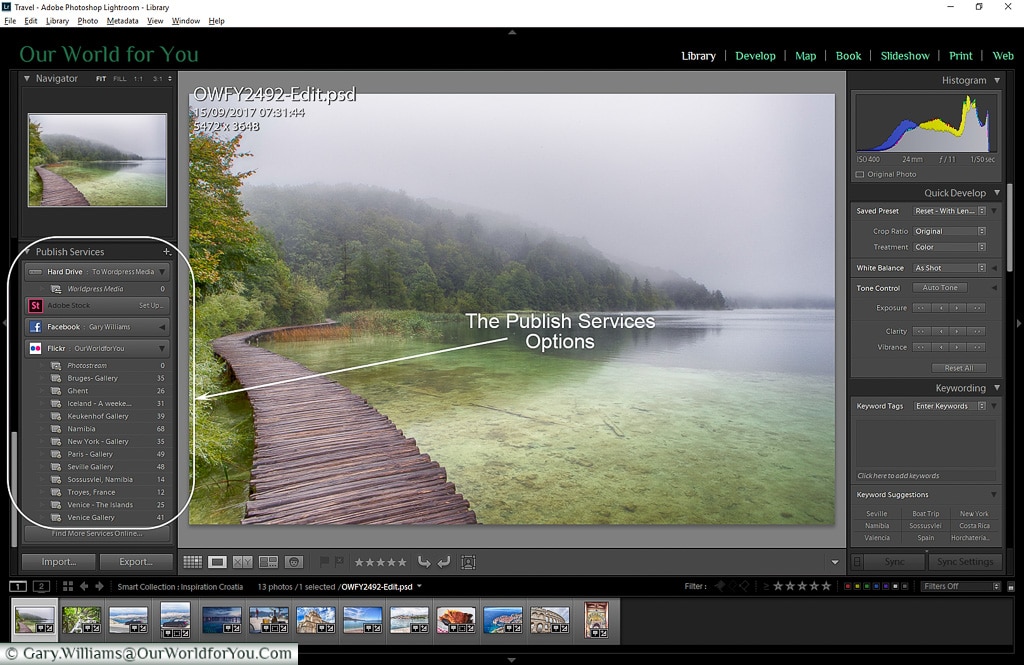
Now Lightroom has specific modules to output your work for sharing; here I am just going to touch on the Publish Services function under the Library. I use it to replicate the Galleries on my site onto Flickr, and it's straightforward.
The Sharing Service supports Flickr, Facebook, Adobe Stock, and others are available via plugins.
Once you have configured your Service, you can then set the images to be published as in a collection. So my Seville Gallery on OurworldforYou is based on the same Lightroom collection as the Flickr Gallery, and creating it on Flickr is no additional work for me.
And I did mention Maps
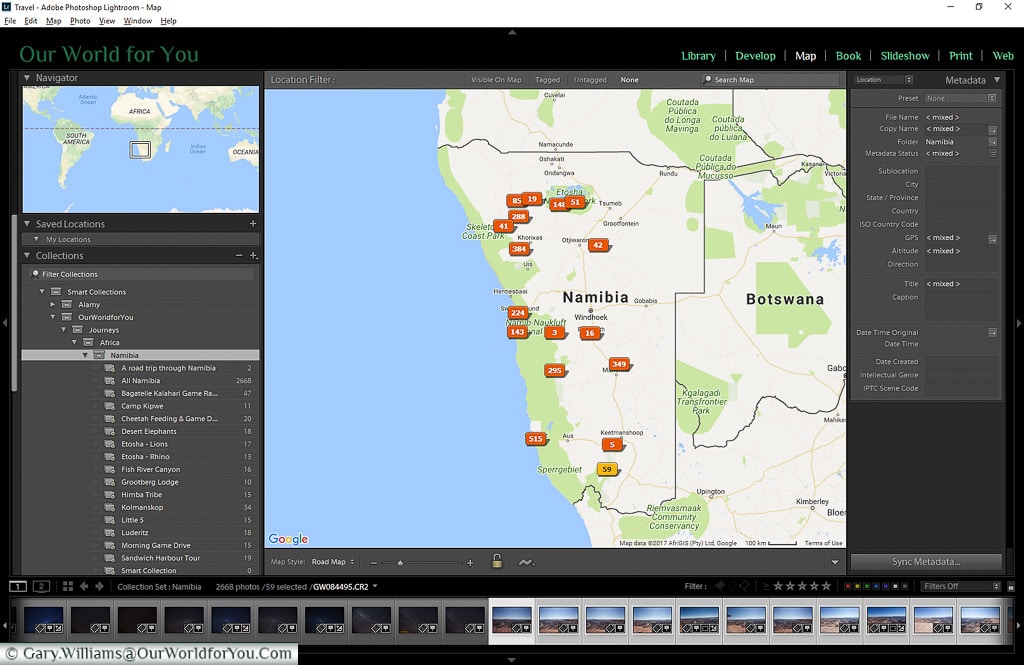
So I mentioned the map module. If your camera can store the GPS location of your images, then you can view the distribution on a Google map.
Even if you don't, you can record a GPX tracklog on your smartphone, or a separate GPS data logger, then you can upload as we did with our Namibia trip.
If you don't have a GPS logger, you can still do it manually if you want. It can be handy if you revisit old locations.
And finally
I hope this has given you a taste of what you can do with Lightroom regarding organising your images. And if you shoot in camera raw, (and I hope you do, if not, have a quick read of this 'Shooting Raw'), then the develop module will also be your best friend. I will touch on that on my next instalment in the series.
As always if you have any questions, queries or just plain old feedback then feel free to comment below.
